
How to Fix a Leaking Roof from the Inside
How to Fix a Leaking Roof from the Inside
Water stains can be seen on the ceiling when it rains or snows. The water is slowly trickling down to the floor and forms small pools. It can then quickly become a mess due to all the activity that takes place in the house. Now, fort route roofing shows you how to fix your leaky roof.
Step-by-Roof Repairs
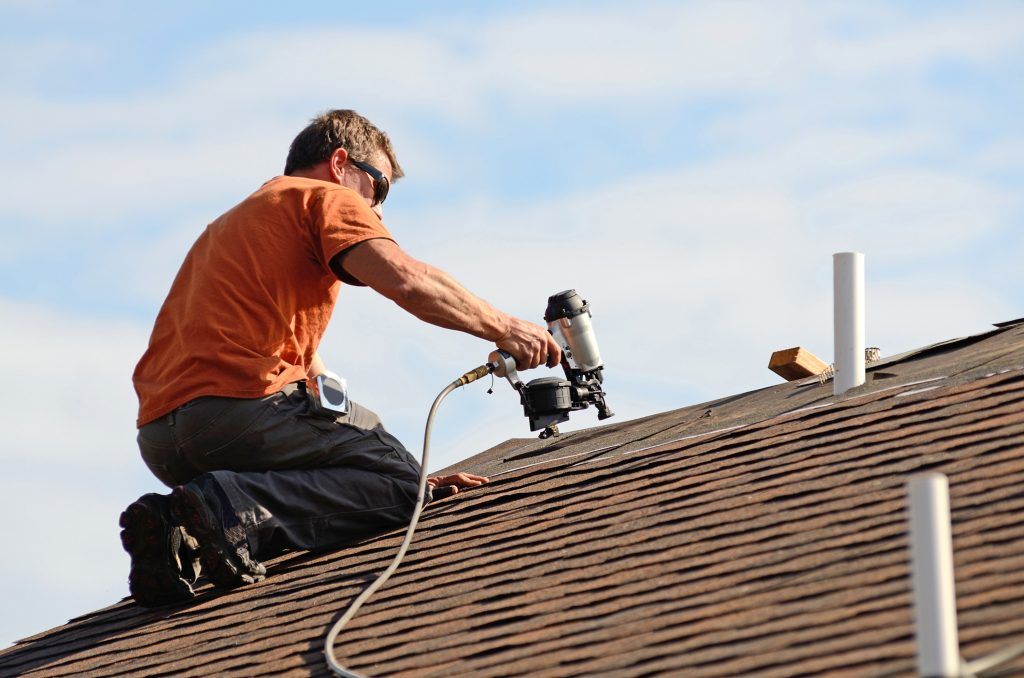
The above procedures are temporary. If your roof is severely damaged, a professional repair will be required. The primary purpose of the roof is to protect your home from severe weather. These elements can put a strain on your roof and lead to damage. For a cohesive design to be achieved, you'll likely need the assistance of a professional. Let's get this party started.
Step 1 Go up to and into the attic.
-
In order to repair your leaking roof, locate and enter the attic. If the covering provides a barrier between attic insulation and wall insulation (plastic or not),
-
Clear out any water and move the insulation to the side. To drain the water, you can place a thin piece of wood directly over the ceiling joists.
-
If the roof is not dry, you can puncture it. Set a bucket below and let the waterfall into the bucket. It's possible that your ceiling will need to repair later.
Step 2 Tracking down the Leak
-
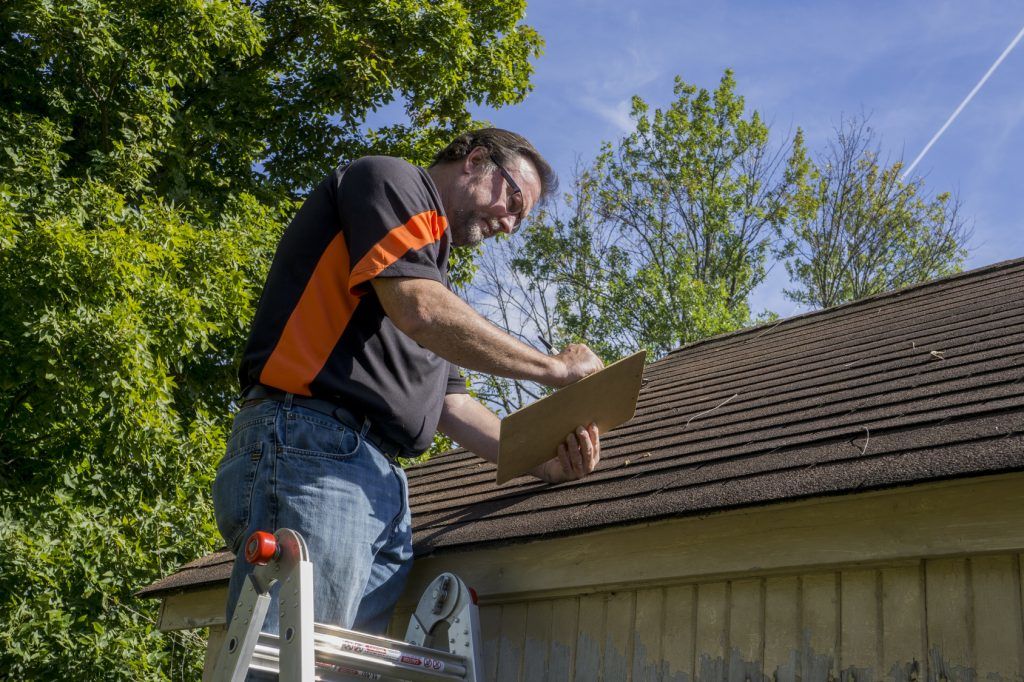
Finding the source is an important part of roof repair. You must accurately measure the hole.
-
This can be done by paying close attention to where the water enters. It is possible for it to travel quite far from the area that it is leaking into your ceiling. You can also track the water's movement by following a beam. It is important to note that water may sometimes follow a beam from the roof deck.
-
After you have repaired any damage to your house, you can access the attic. Do not step on anything which isn't sturdy. Next, you can use a flashlight to find the affected area and trace the path back to the point where it entered your roofing system.
-
Sometimes, it might be difficult to identify a minor leak. If you can't see any water flow lines and it is only a minor stain, then check underneath the roof for any nails that might have escaped the support under the roof.
-
Moisture that has escaped from rooms below can sometimes seep into the attic. There it condenses on chilly nails. If you go into your attic in the middle of a cold night, you will immediately notice this shiner.
-
Because moisture is slowly settling on the nails they will appear white. When the attic heats later in the afternoon, the frost will melt on the pin. You can easily remove the nail by using pliers.
Step 3 Create a Repair
-
Next, apply roofing tar and a piece of plywood to create temporary water leakage. The utility knife can be used to apply roofing tar at the base or hole of the roof deck.
-
Secure the plywood or roofing shingle to the tar, making sure that adequate asphalt is applied around any leaks. This step will make it more secure and stable.
Step 4: Calculate how far the leak is.
-
While you're still inside the attic and measuring the distance to the hole from the roof or ridge, make sure to measure the whole length of the hole. This makes it easy to find the leakage after the rains.
-
After the rains are over, you'll be able to return to your roof to take measurements. Once you have measured the exact dimensions, you can then secure the base of the leakage with roofing tar.
Fort Wayne Roofers
Fort Wayne, IN
(260) 233 7260